Getting Started with Spring Cloud Config Server using JDBC
Step-by-Step Guide to Building a Centralized Configuration Server for Microservices.
Start by creating a new project with Spring Initializer. Move to https://start.spring.io/ and create a new Spring Project with Maven, Spring Boot 3.x.x and JDK 17.
Please enter the following data:
Project: Maven
Language: Java
Group:
com.configArtifact:
SpringCloudConfigServerName:
SpringCloudConfigServerDescription: Demo project for Spring Boot Cloud Config server using Mysql JDBC
Package Name:
com.config.SpringCloudConfigServerPackaging: Jar
Java: 17
Dependencies:
Config Server
Spring Data JDBC SQL
Spring Web
MySQL Driver
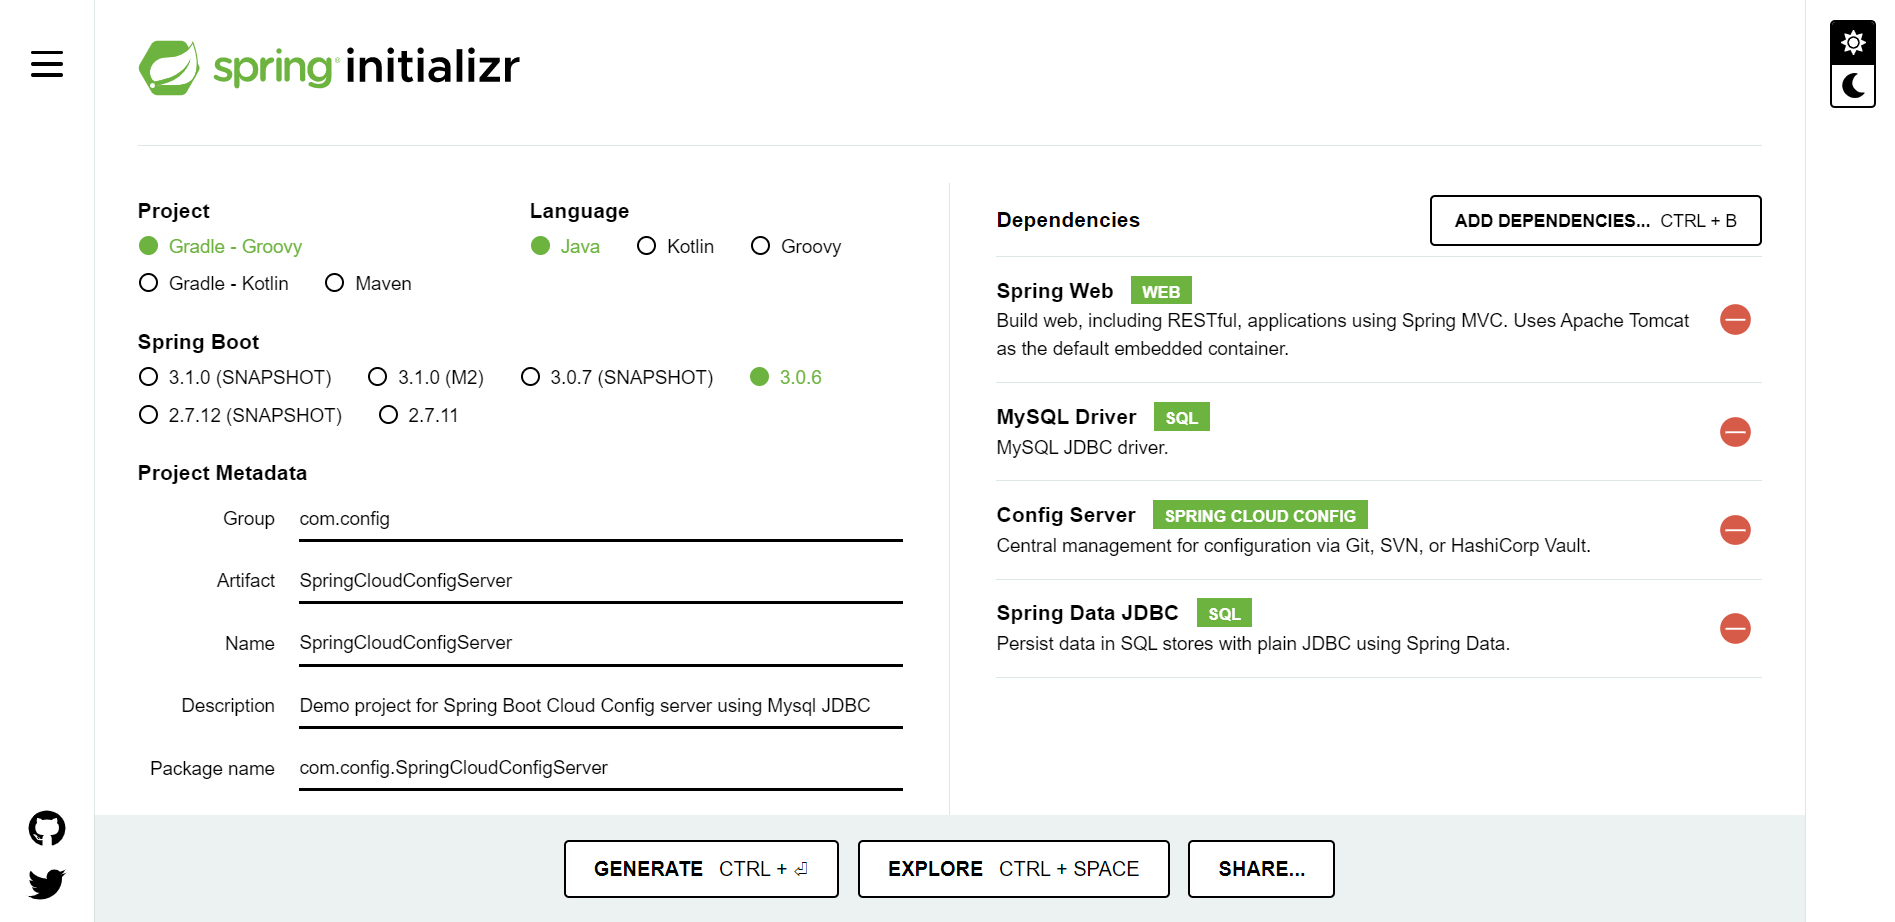
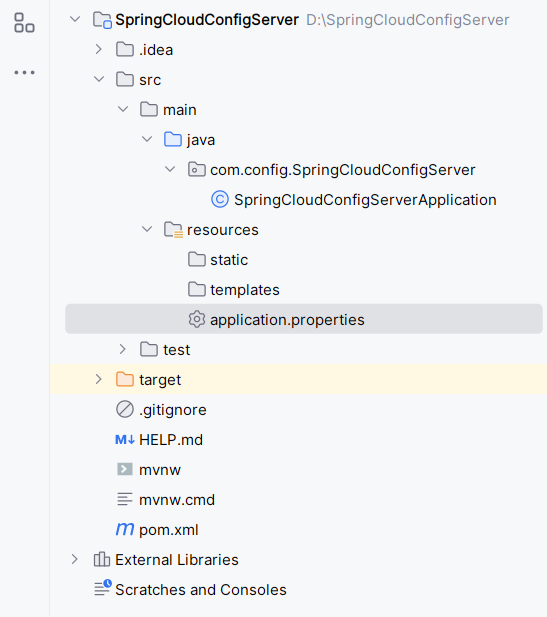
Generate it and Extract it to your local machine and below mentioned is your project structure.
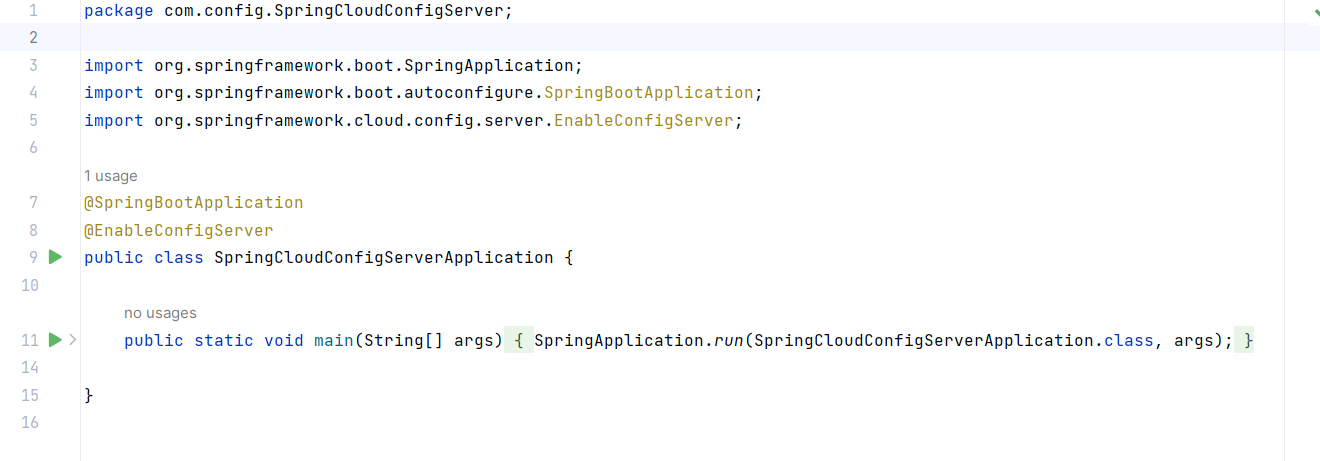
To enable the cloud config server we need to use the @EnableConfigServer annotation to our class which has @SpringBootApplication.
Now add the required properties to our application.properties file.
server.port=8686
spring.jpa.show-sql=true
spring.datasource.url=jdbc:mysql://localhost:3306/cloudconfig?createDatabaseIfNotExist=true
spring.datasource.username=root
spring.datasource.password=root
spring.datasource.driver-class-name=com.mysql.cj.jdbc.Driver
spring.jpa.hibernate.ddl-auto=update

spring.profiles.active=jdbc
spring.cloud.config.server.jdbc.sql=SELECT `key`, `value` FROM `properties` WHERE `application`=? AND `profile`=? AND `label`=?
spring.cloud.config.server.jdbc.order=1
Here note that we have used the line spring.profiles.include=jdbc. This line enables the JDBC backend for the Spring Cloud Config server.
Now to store our application properties, we will need to create a table in our database and add a couple of entries to this table:
use cloudconfig;

CREATE TABLE properties (
  `id` INT NOT NULL AUTO_INCREMENT,
  `created_on` TIMESTAMP NOT NULL DEFAULT CURRENT_TIMESTAMP,
  `application` VARCHAR(50) NOT NULL,
  `profile` VARCHAR(50) NOT NULL,
  `label` VARCHAR(50) NOT NULL,
  `key` VARCHAR(50) NOT NULL,
  `value` VARCHAR(500) NOT NULL,
  PRIMARY KEY (`id`)
);
Add some temporary Values to it.
INSERT INTO properties (`application`, `profile`, `label`, `key`, `value`)
VALUES ('myapp', 'dev', 'latest', 'prop1', 'value1');

INSERT INTO properties (`application`, `profile`, `label`, `key`, `value`)
VALUES ('myapp', 'dev', 'latest', 'prop2', 'value2');
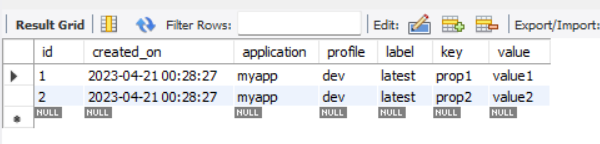
Start your application and verify that the properties are being retrieved correctly. You can access the properties using a URL like the following:
http://localhost:8686/myapp/dev/latest
{base-path}/{application-name}/{profile}/{label}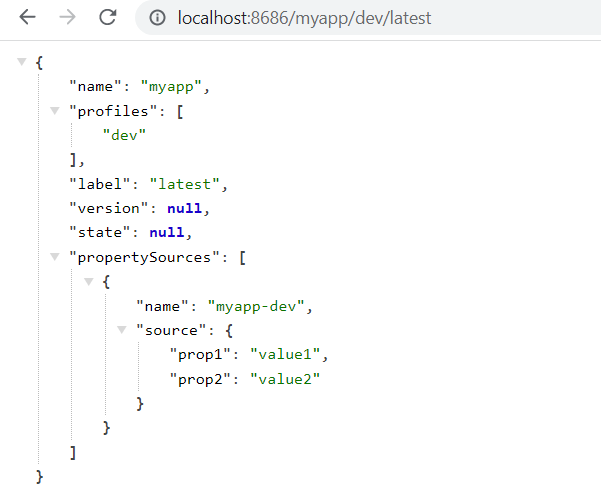
By following the above-mentioned steps, you can easily set up and configure a Spring Cloud Config Server using JDBC to manage and distribute configuration properties for your microservices.